Step-by-Step Guide on How to Brine Chicken Breast for Juicy and Flavorful Results
Introduction
Have you ever wondered why restaurant-style chicken is always so juicy and flavorful, while your homemade chicken often turns out dry and tough? The secret lies in a simple yet powerful technique—brining. If you’ve never tried it before, you’re in for a game-changer. This process ensures that your chicken remains tender, flavorful, and cooked to perfection every time.
By following this guide, you’ll learn how to brine chicken breast step by step, unlocking the secret to mouthwatering meals with minimal effort. Say goodbye to bland, dry chicken and hello to moist, delicious bites!
Table of Contents
What is Brining and Why is it Important?
Brining is the process of soaking chicken in a saltwater solution to enhance moisture retention and add flavor. The salt in the brine breaks down muscle fibers, allowing the meat to absorb liquid and remain juicy when cooked.
Benefits of Brining Chicken Breast:
- Prevents Dryness: Ensures the chicken remains tender and juicy.
- Enhances Flavor: Infuses the meat with seasonings and spices.
- Improves Texture: Results in a more succulent bite.
- Reduces Overcooking Risks: Provides a buffer against high heat.
If you’ve ever struggled with rubbery, tasteless chicken, brining is the solution you need.
Types of Brining Methods for Chicken Breast
There are two main methods of brining: wet brining and dry brining. Each has its own benefits, depending on your time and taste preferences.
1. Wet Brining (Traditional Saltwater Brine)
- Best for: Maximum moisture retention
- Basic ratio: 1/4 cup kosher salt + 4 cups water + optional seasonings
- Soaking time: 30 minutes to 4 hours
- Ideal for: Grilled, baked, or pan-seared chicken
2. Dry Brining (Salt and Seasoning Rub)
- Best for: Faster results with intense flavor
- Method: Rub salt and spices directly onto the chicken
- Resting time: Up to 24 hours in the fridge
- Ideal for: Crispy skin and deep flavor infusion
Both methods work well, but wet brining is preferred if you want ultra-juicy chicken.
Step-by-Step Guide on How to Brine Chicken Breast
Ingredients Needed for Brining
| Ingredient | Quantity | Purpose |
|---|---|---|
| Water | 4 cups | Base for wet brine |
| Kosher Salt | 1/4 cup | Essential for moisture retention |
| Sugar (optional) | 2 tbsp | Balances flavor & aids browning |
| Herbs & Spices | To taste | Adds extra flavor |
Step 1 – Prepare the Brine Solution
- In a bowl, mix water, salt, and sugar (if using).
- Stir until fully dissolved.
- Add optional herbs, garlic, lemon, or spices for extra flavor.
Step 2 – Submerge the Chicken
- Place the chicken breasts in a container.
- Ensure they are completely submerged in the brine.
Step 3 – Refrigerate and Let it Brine
- Minimum time: 30 minutes.
- Ideal time: 2–4 hours.
- Maximum time: 12 hours (to avoid an overly salty taste).
Step 4 – Rinse and Pat Dry
- Remove the chicken from the brine.
- Rinse under cold water to remove excess salt.
- Pat dry with a paper towel.
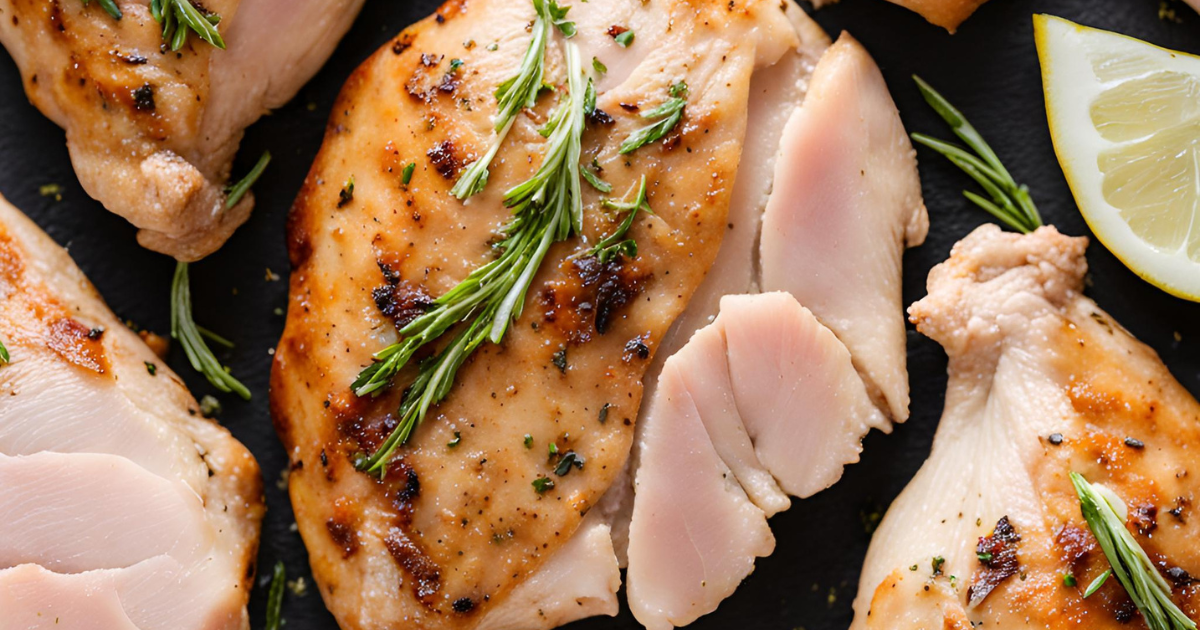
Step 5 – Cook as Desired
- Grill: High heat for a smoky flavor.
- Bake: 375°F (190°C) until internal temp reaches 165°F (75°C).
- Sauté: Quick and crispy in a pan.
Pro Tips for Perfectly Chicken Breast
- Always use cold water to prevent bacterial growth.
- Experiment with flavors by adding herbs, citrus, or spices.
- Never brine pre-seasoned or enhanced chicken.
- Let the chicken rest before slicing to retain juices.


Common Mistakes to Avoid When Brining Chicken Breast
Using Too Much Salt
- Stick to the recommended 1/4 cup per 4 cups of water ratio.
Over-Brining
- Do not exceed 12 hours to avoid excessive saltiness.
Forgetting to Rinse the Chicken
- Rinsing removes excess salt and ensures a balanced taste.
Frequently Asked Questions (FAQs)
How long should I brine chicken breast?
- For best results, brine for at least 30 minutes and up to 4 hours.
Can I brine chicken overnight?
- Yes, but avoid exceeding 12 hours to prevent an overly salty taste.
Do I need to rinse the chicken after brining?
- Yes! Rinsing removes excess salt and ensures a well-balanced flavor.
Can I use table salt instead of kosher salt?
- Yes, but adjust the amount: Use half the amount of table salt as it’s finer and denser.
Conclusion
Brining is the easiest way to guarantee moist, flavorful chicken every time. Whether you choose a traditional wet brine or a quick dry rub, this technique ensures that your chicken breast remains juicy and delicious.
Now that you know how to brine chicken breast, why not give it a try for your next meal? Your taste buds will thank you!
If you found this guide helpful, share it with your friends or leave a comment with your favorite brining tips!